DIY: Hand Painted Easter Eggs
March 26th, 2015 | Posted by in DIY tutorials | Illustration - (0 Comments)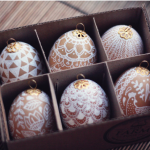
This year’s edition of my easter eggs. What do you think? : )
- – - – - – - – - – - – - – - – - – -
Okay, I think I need to clarify how these eggs where made. Some of you seem to think that I painted white eggs and layered some sort of gold paint etc. But it’s SO much easier than that! Brown eggs, white posca marker (pen with acrylic ink), DONE! Thank you for the kind comments and emails! Love you, xx

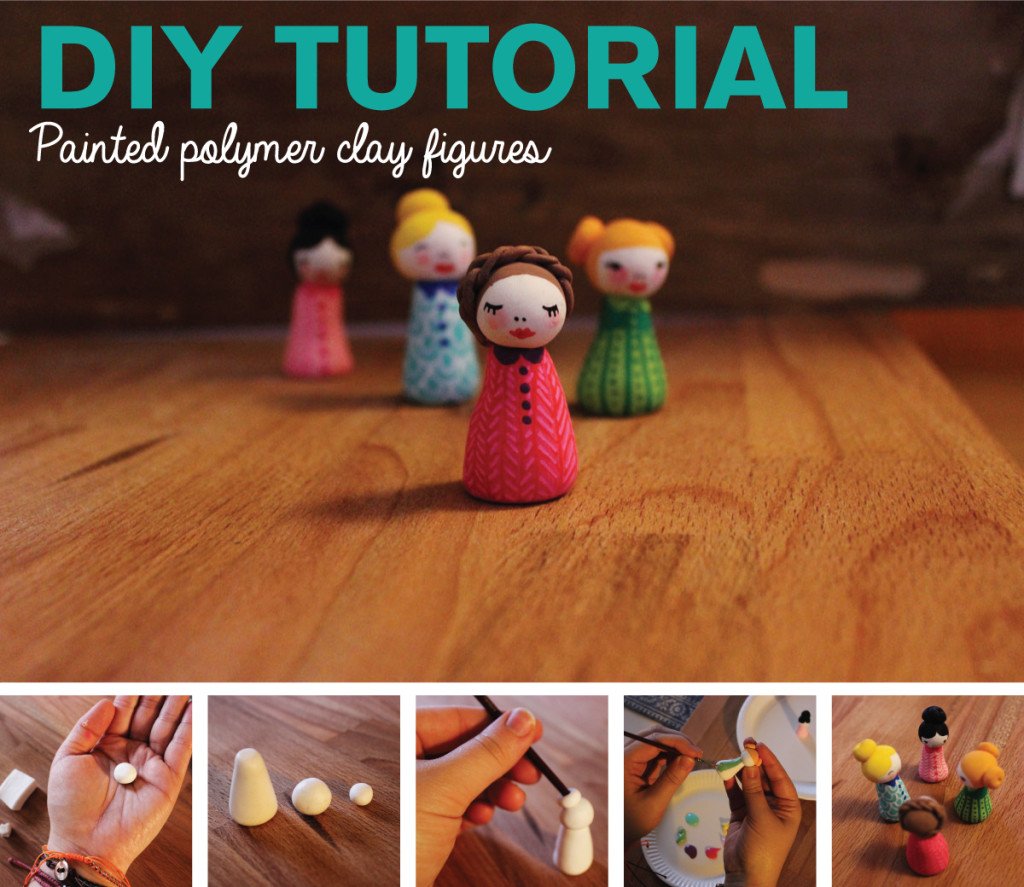
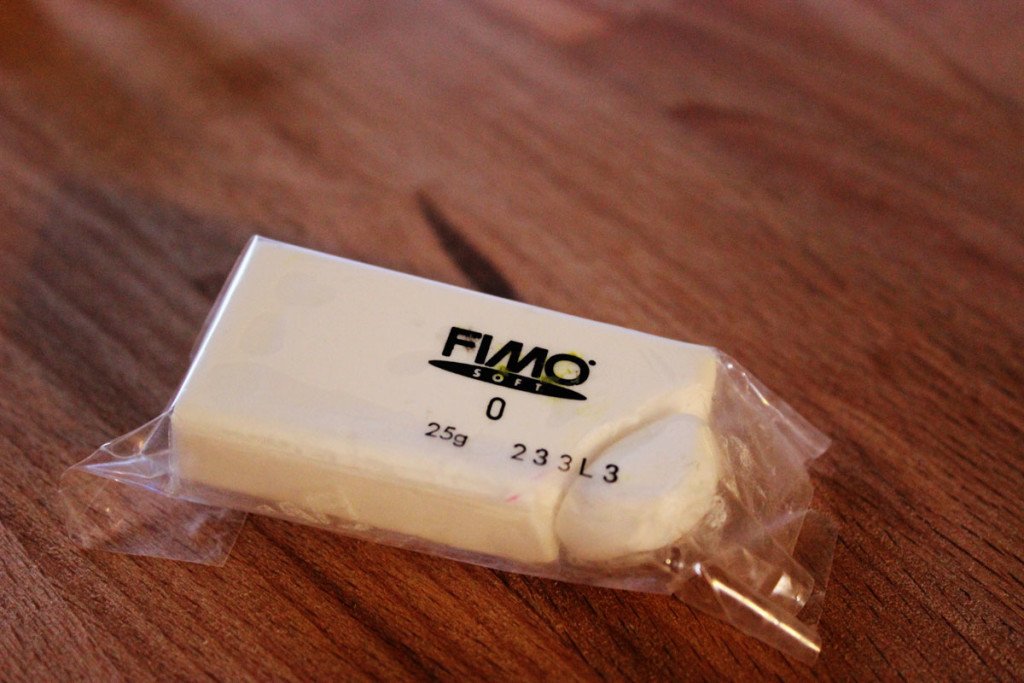
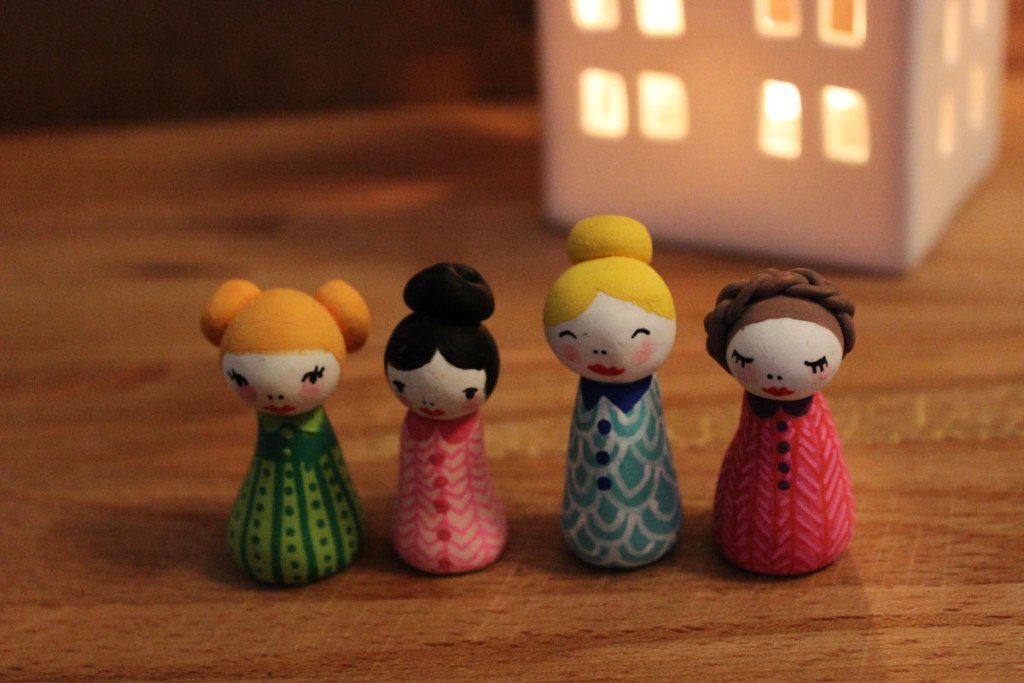
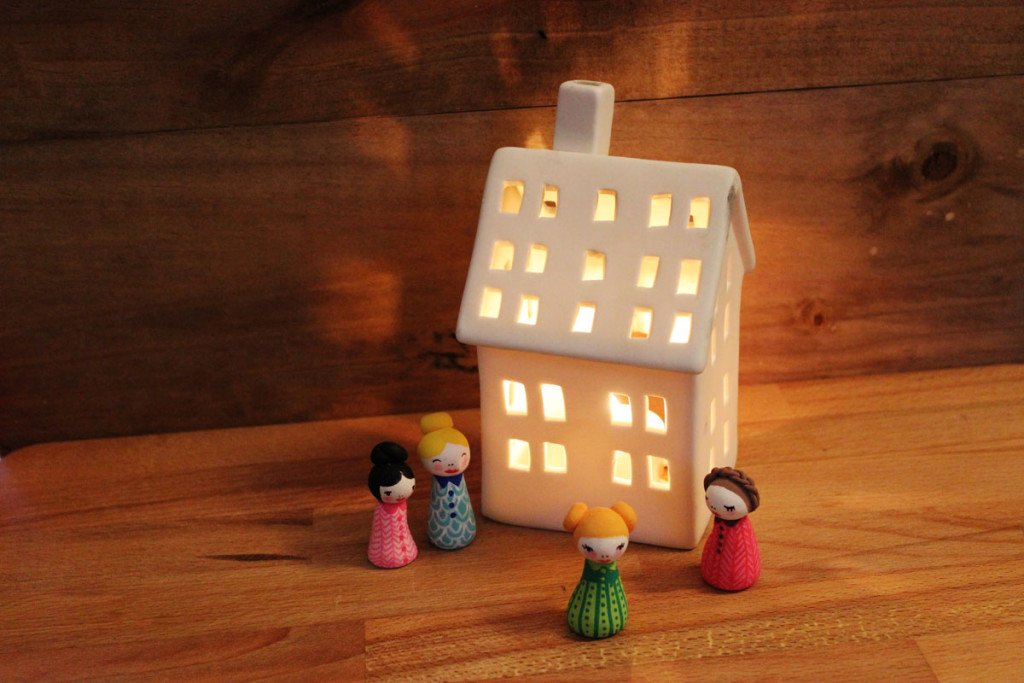
I had some polymer clay laying around so I made these little girls this morning. I'm sure just any clay would do, whatever you might have laying around in the house.
Polymer clay can be found in pretty much any craft store.
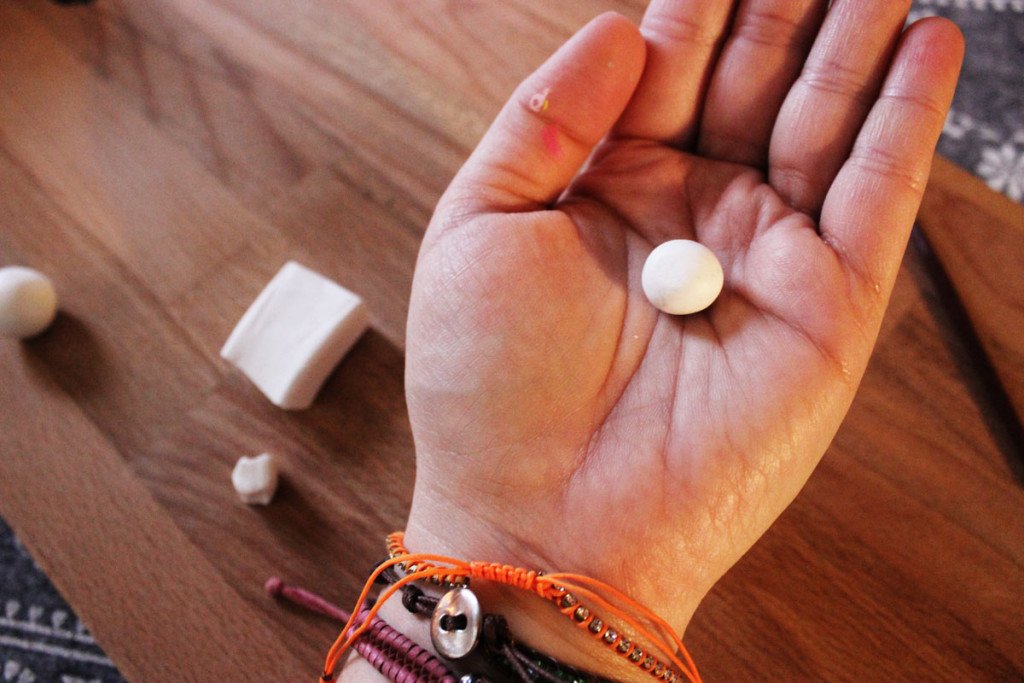
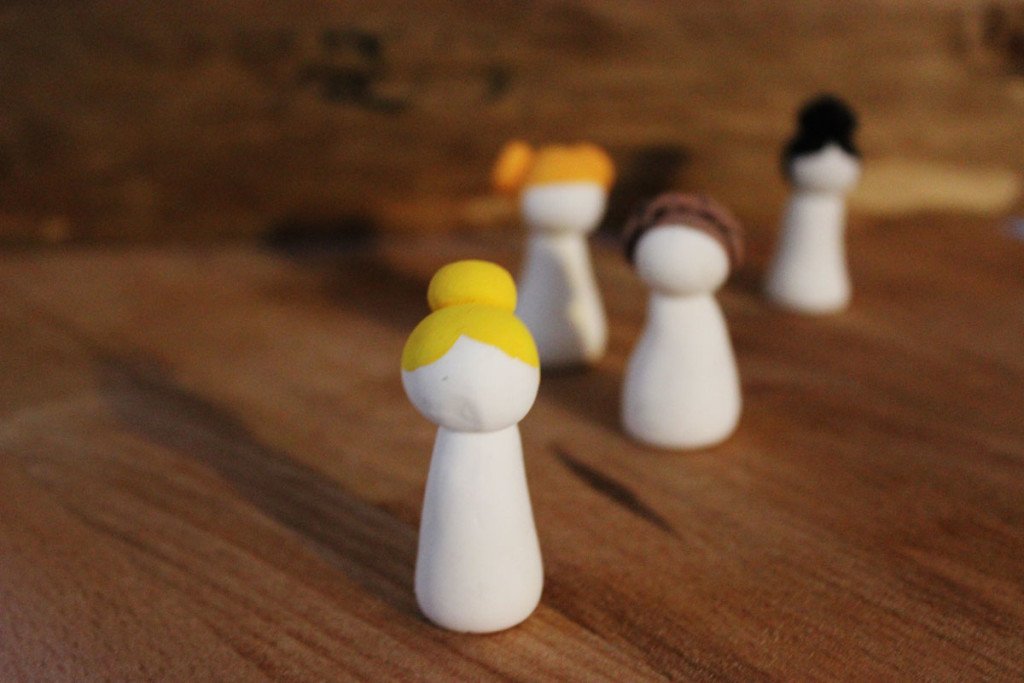
You are going to need three different pieces, and no other tools necessary than your two hands. Don´t worry about size, you can play around with this until you find the proportions you like.
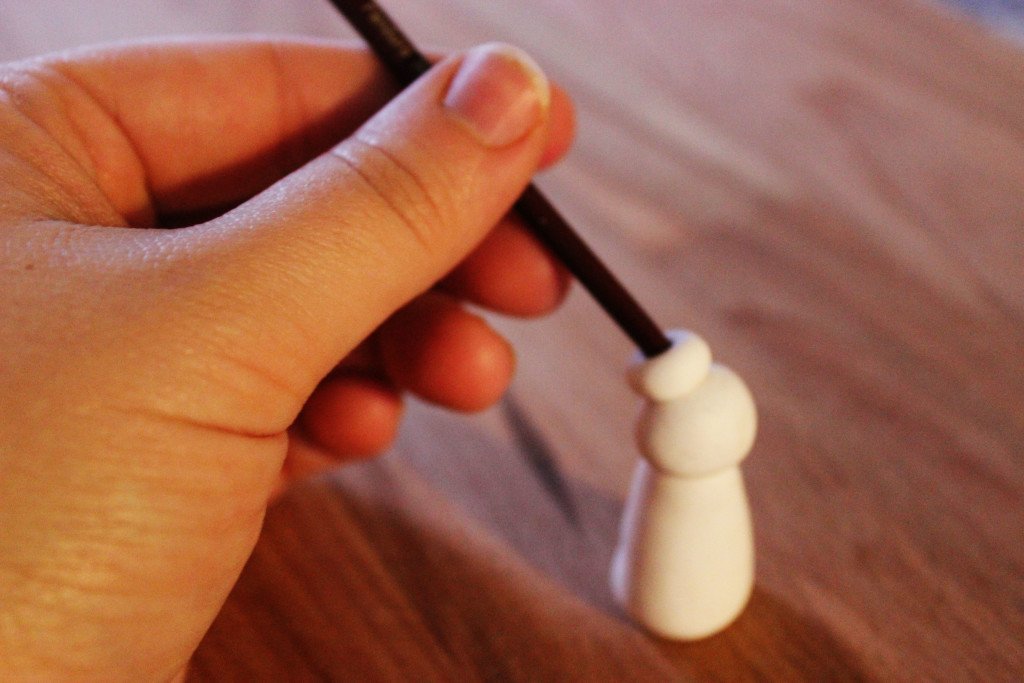
I used the back of a brush for the hair on this one.
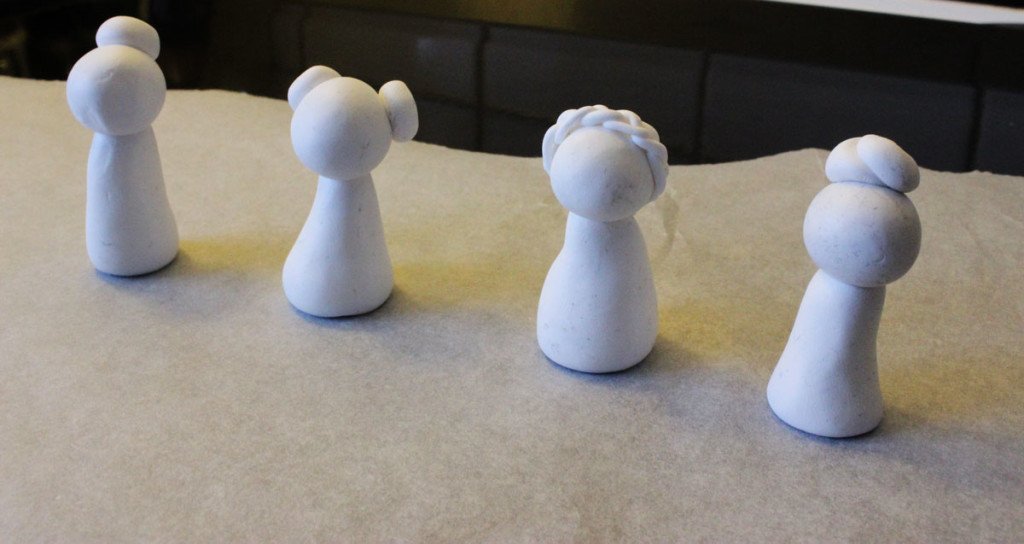
Play around with different "haircuts" until you're happy.
Once you are done it is time to bake these little ones. Make sure to read the description. Mine said 215°F (100°C) for 30 minutes. Let figures cool completely before touching.
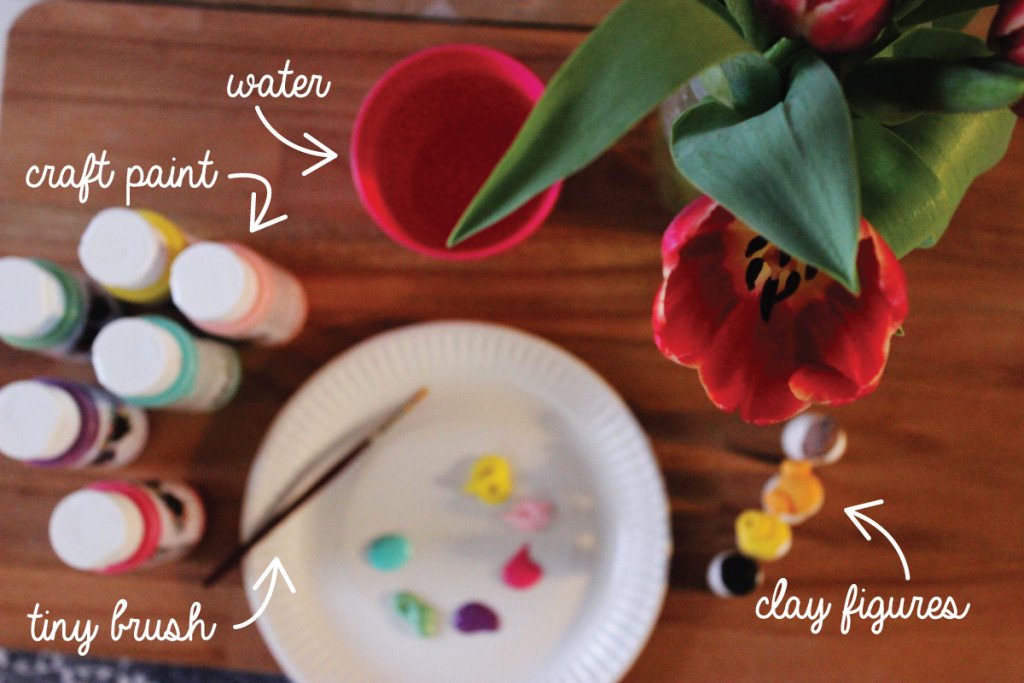
Here comes the FUN part! You are going to need craft paint, water, a small brush and your clay figures.
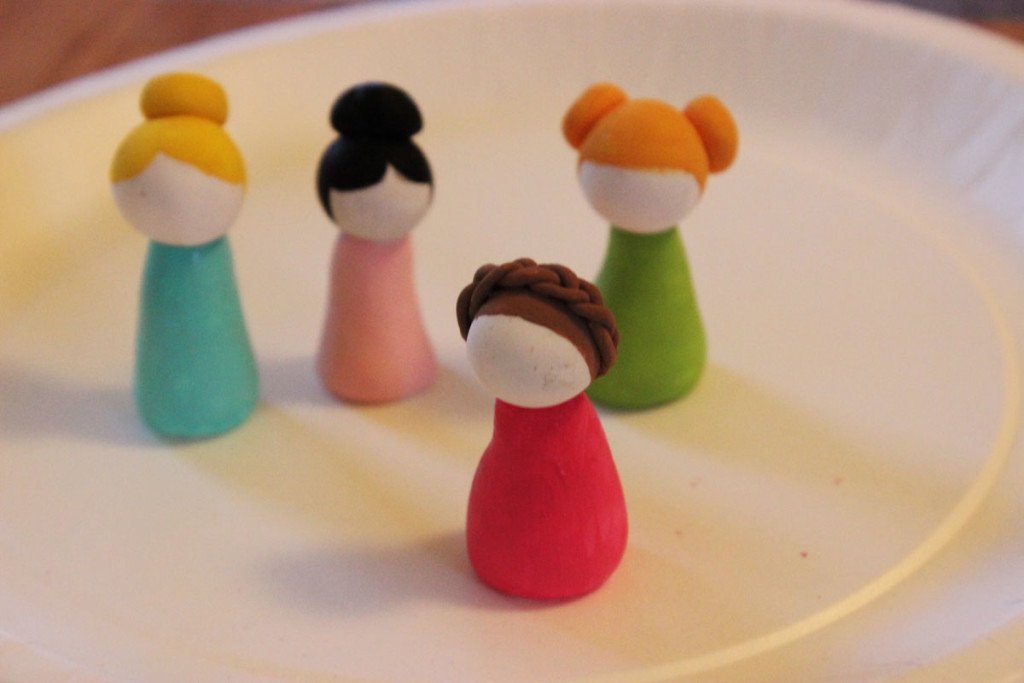
I started out with the hair.
And then the base for the dresses.
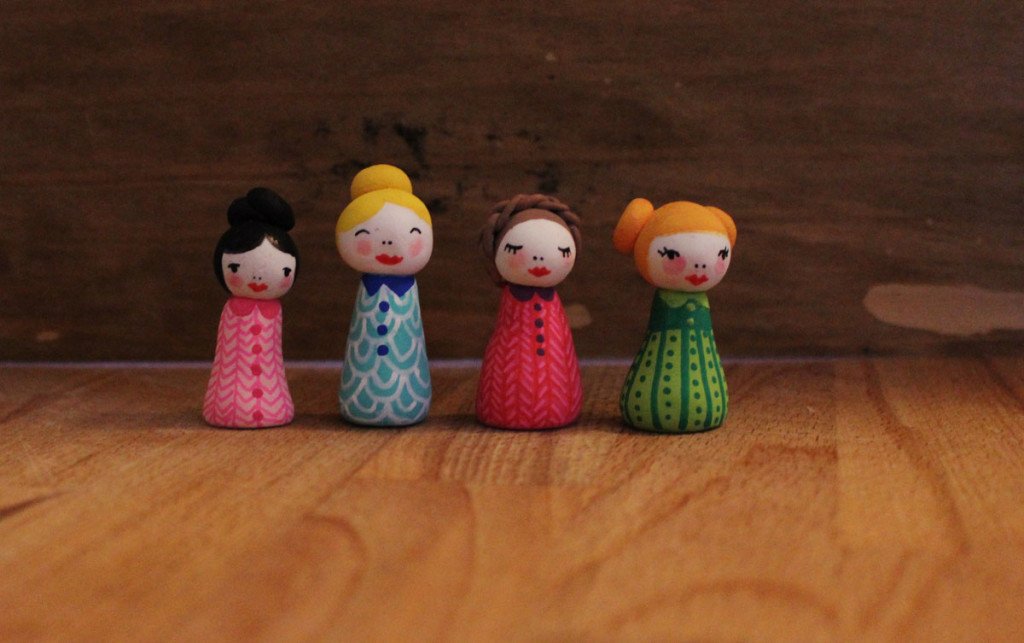
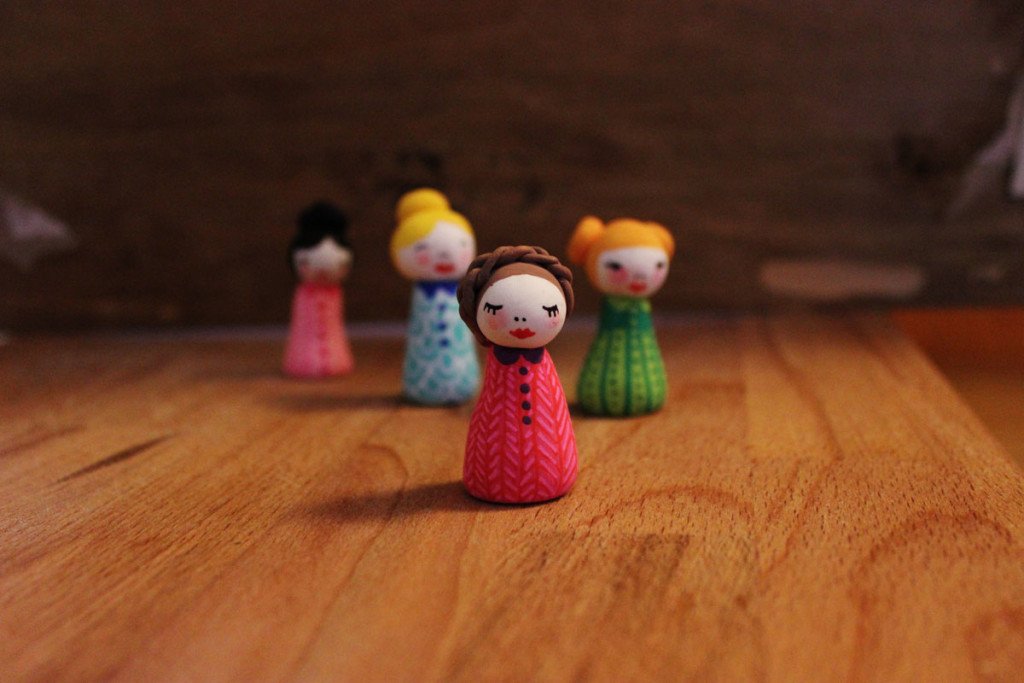
Done! I also finished with one coat of matt varnish, just to make their lives a little longer.


